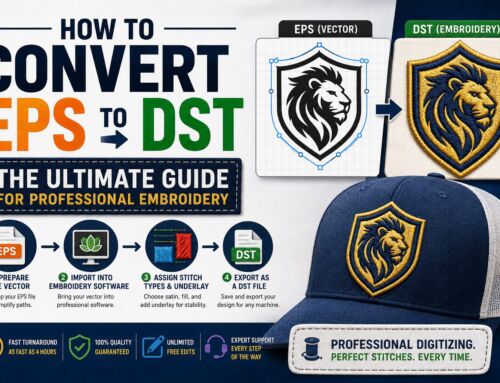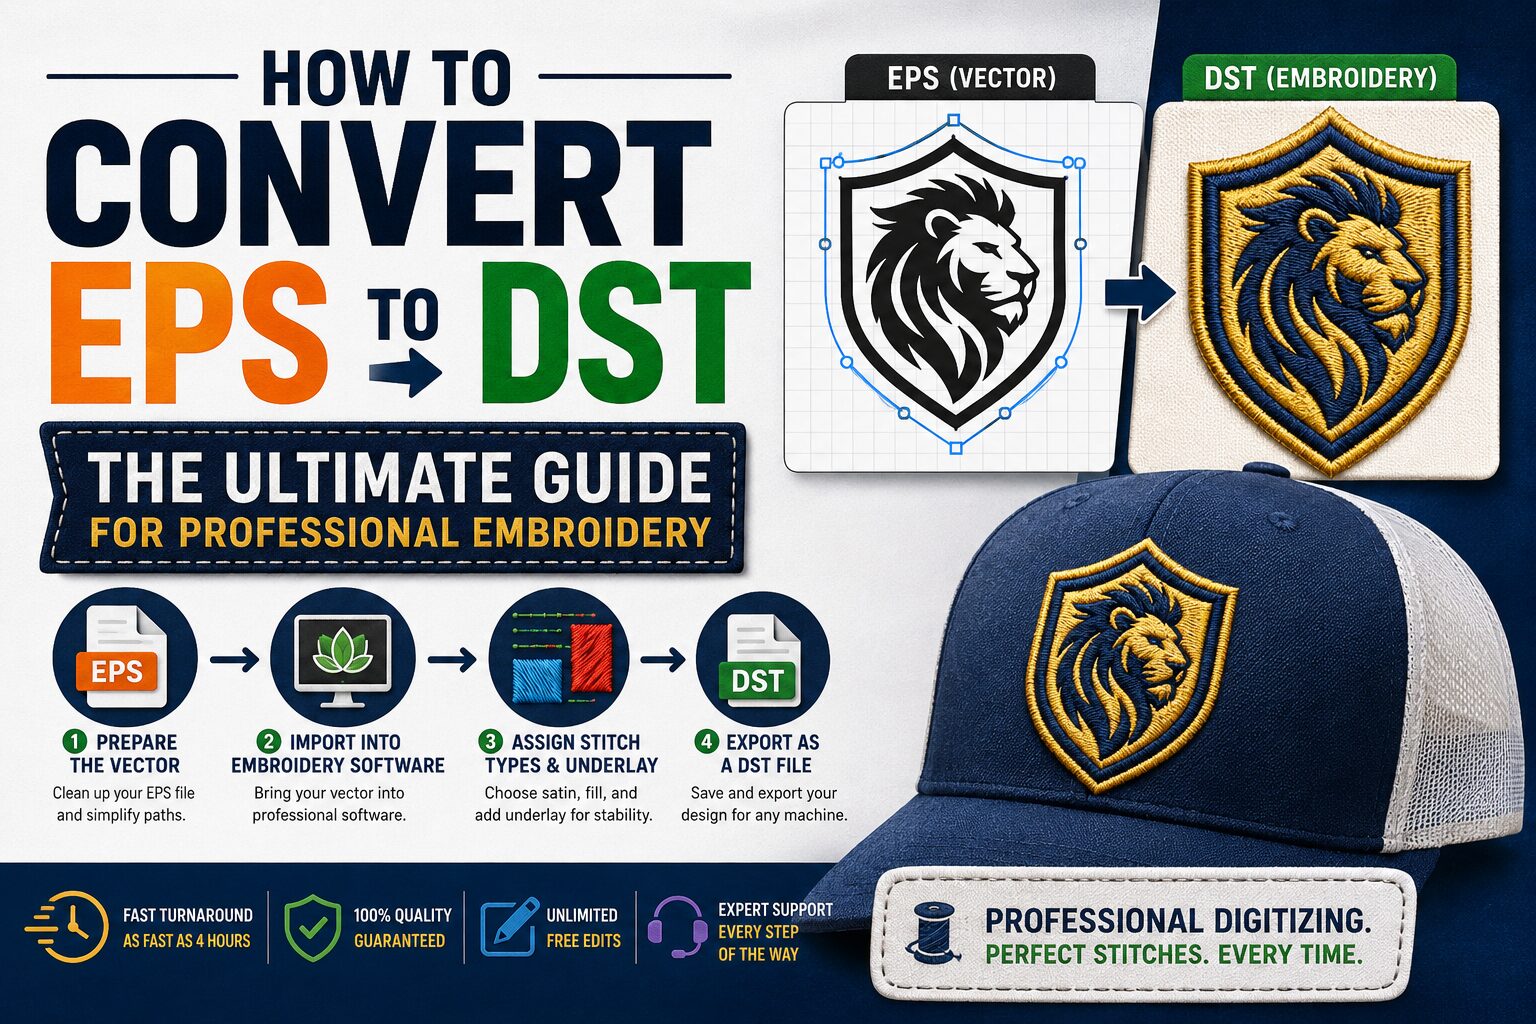
When it comes to professional embroidery, starting with an AI (Adobe Illustrator) file is the gold standard. Because AI files are vector-based, they provide the cleanest lines and most precise paths for a digitizer to work with. However, an embroidery machine cannot “read” a vector; it needs a DST file to tell the needle exactly where to drop.
In this guide, we’ll show you how to bridge the gap between graphic design and professional embroidery, the pitfalls of “free” converters, and how to prepare your Illustrator files for a flawless stitch-out.
Why AI Files are the Best for DST Conversion
Unlike JPGs or PNGs, which are made of pixels, AI files are made of mathematical paths. When we convert AI to DST, we aren’t just “changing the format”—we are mapping those paths into stitch commands.
Infinite Scalability: You can scale an AI logo to fit a tiny pocket or a massive jacket back without losing a single detail.
Path Precision: Clean vector lines mean the embroidery machine follows a logical path, reducing thread breaks and “bird-nesting.”
Color Separation: AI files allow digitizers to easily identify separate thread layers, ensuring your 3-color logo stays perfectly aligned.
Pro Tip: If you have the AI file, always use it over a JPEG. It will save you money on digitizing fees and result in a much higher-quality garment.
Can You Convert AI to DST Online for Free?
Many users search for an AI to DST converter online free. While there are automated tools that claim to do this instantly, there is a catch: Embroidery is a physical process, not just a digital one.
Auto-converters don’t understand:
Fabric Push and Pull: How the fabric stretches under the needle.
Stitch Density: How many stitches are needed to cover the garment without making it “bulletproof” (too hard).
Pathing: The logical sequence of the design so the machine doesn’t jump all over the frame.
For a hobbyist, a free converter might suffice. For a brand owner or professional shop, manual digitizing is a necessity.
How to Prepare Your Illustrator File for Digitizing
Before sending your file to Stitchify Digitizing, follow these three steps to ensure a perfect conversion:
Convert Text to Outlines: Select all text and hit
Shift + Ctrl + O. This ensures the digitizer doesn’t need your specific font files.Simplify Paths: Remove overlapping shapes. If you have a red circle behind a blue square, the embroidery machine might try to stitch the red under the blue, causing a thick, ugly bump.
Remove Gradients: Embroidery machines use solid thread colors. Convert any gradients into solid blocks of color or “halftones” if you want a blended look.
5 Professional Tools for AI to DST Conversion
If you are looking to handle the conversion yourself, you will need specialized embroidery software. Here are the top industry picks:
Wilcom Embroidery Studio: The industry leader for high-end, manual digitizing.
Hatch Embroidery: Powered by Wilcom, this is the best option for Mac users (via Parallels) and advanced hobbyists.
Brother PE-Design: Excellent if you are specifically using Brother home or semi-commercial machines.
Embird: A robust, budget-friendly modular software.
Pulse DG: Often used by high-volume commercial embroidery shops.
Troubleshooting: AI to DST on Mac
If you are working on a Mac, you’ve likely noticed that most embroidery software is Windows-based. To convert AI to DST on Mac, your best bet is to use Adobe Illustrator to clean the file, then use a professional service or run Windows-based software through a virtual machine.
Once you have your converted file, you can use our Free Online DST Viewer to inspect the stitch sequence directly in your Safari or Chrome browser.
Frequently Asked Questions (FAQs)
Get a Professional AI to DST Conversion Today
Don’t let a “free converter” ruin your expensive garments. At Stitchify, we have over a decade of experience turning complex AI vectors into flawless embroidery files.
Ready to see the difference? Get a Free Quote for your AI to DST Project or email us at info@stitchifydigitizing.com.