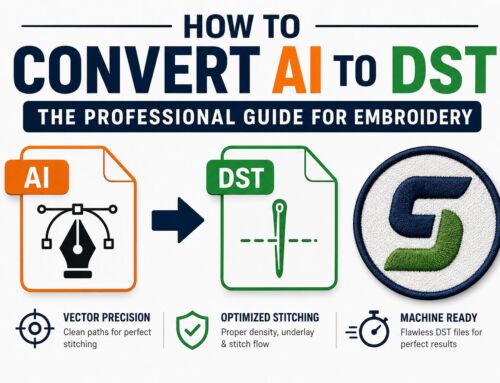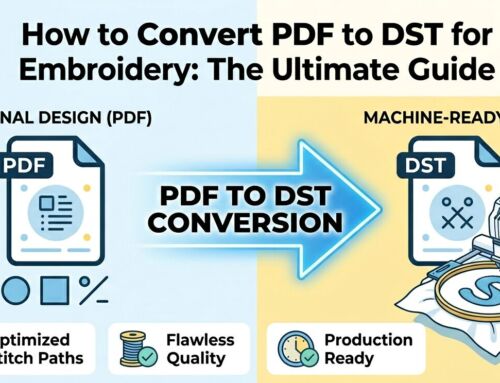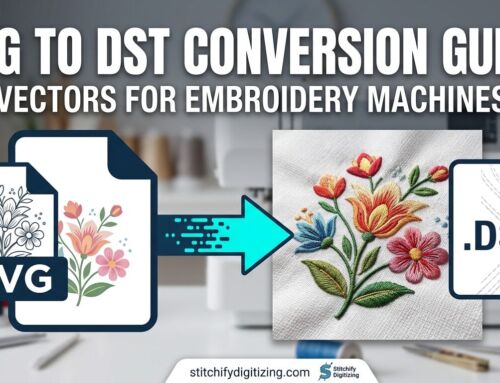
If you are a graphic designer or a brand owner, you likely work with EPS (Encapsulated PostScript) files daily. They are the gold standard for logos because they are scalable and crisp. However, if you’ve ever tried to load an EPS file directly into a Tajima or Barudan machine, you know it doesn’t work.
To bridge the gap between graphic design and apparel decoration, you need an EPS to DST conversion. In this guide, we’ll explain exactly how to convert your vector graphics into machine-ready embroidery files without losing detail.
Why Do You Need an EPS to DST Conversion?
An EPS file is a vector graphic; it consists of mathematical paths, lines, and curves. An embroidery machine, however, cannot read “lines.” It only understands stitches.
A DST file contains specific coordinates for the needle, jump commands, and trim instructions. To go from EPS to DST, the design must undergo a process called digitizing, where paths are converted into specific stitch types like satin, fill, or running stitches.
Pro Tip: If you already have a file and need to check its quality, use our Free Online DST Viewer to inspect the stitch paths before you hit start on your machine.
How to Convert EPS to DST: A Step-by-Step Workflow
For those looking to understand the technical side of how to convert EPS to DST, here is the professional workflow used by industry experts:
1. Prepare the Vector in Illustrator
Open your EPS file in Adobe Illustrator or CorelDRAW. Simplify the design by removing overlapping paths and ensuring the colors are clearly defined. Converting EPS to DST in Illustrator directly isn’t possible, but prepping the file here saves hours of digitizing later.
2. Import into Embroidery Software
Import your cleaned vector into professional software like Wilcom Embroidery Studio or Hatch. Unlike standard converters, these allow for manual control over every single stitch.
3. Assign Stitch Types and Underlay
This is the “digitizing” phase. You must decide:
Satin Stitches: Best for text and borders.
Fill Stitches: Best for large areas.
Underlay: Essential for stabilizing the fabric and preventing puckering.
4. Export as a Tajima .DST File
Once the design is digitized, export the file. While many machines use different formats (like Brother PES files), the DST file remains the industry standard for commercial embroidery.
Choosing an EPS to DST File Converter: DIY vs. Professional
While there are EPS to DST file converter tools online that claim to do it for free, “auto-digitizing” often results in:
Thread breaks and needle snaps.
Inaccurate colors and messy borders.
Poor stitch density that ruins the fabric.
For professional results, manual digitizing is the only way to ensure your logo looks as good on a hat as it does on a screen. At Stitchify, we combine a decade of experience with cutting-edge tech to deliver flawless files.
Frequently Asked Questions (FAQ)
Get Your EPS Files Professionally Digitized
Stop struggling with low-quality converters that waste your thread and fabric. Get a machine-ready DST file with a guaranteed 4-hour turnaround and unlimited free edits.
Ready to start?
Email us: info@stitchifydigitizing.com